Setting Jenkins Job for Beginners - Part 1
Setting up Jenkins Job - Creating Pipeline Project
- Delete the workspace before starting
- Creating Pipeline
- Choosing JDK
- Executing specific commands
- Deploy artifacts to Nexus
- Post Build Actions
- Running any commands
- Sending Mails
- Email Content
- Including any Reports or other file content in the mail.
- Adding attachment
- Limitations faced
We will cover based on the section on the Jenkins job creation page which will cover the above topics. So, lets start with creating a new Jenkin job.
Jenkins version #1.588
Creating Jenkins Pipeline
Jenkins pipeline is like running a series of Jenkins jobs in which one jobs output can be another job input. The pipeline is best suited for a complete project, which includes building the project, running test cases like junits, running any automation test cases, uploading the artifacts to repository and finally notifying teammates via mail or MS teams link.
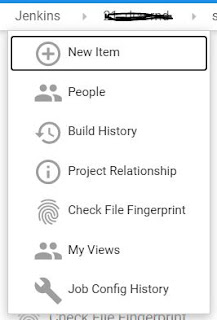
When you navigate to Jenkins, you will create using "New Item" as shown in below image.
Once you click on the New item it will take you to the below page, from where we are going to choose from multiple types of project. Since we will be creating a pipeline, we will choose Multi-Job Project.

These are the different project types in Jenkins to choose from:
- Freestyle Project: As the description you can find in the above image, its a normal free style project, where you can build your project with other project as well.
- Maven Project: It takes the maven project using the pom files.
- Multi-configuration Project: This is required when you have lot of automation testing on different environment which involves a lot of configurations.
- MultiJob Project: This is best suitable for creating a pipeline job, from where you could execute multiple projects.
- Folder: This is normal folder which can be used to keep all the project specific jobs in one place. Very important to organize you jobs.
You must have notice at the bottom of the image, there is "Copy from" behind the "OK". That is used if you have an already existing Jenkins job, want to use the same configuration with minor changes.
We will use Multi-Job Project for the setup.
Once you select, it will take you to the job creation page like below:

Name can be given in the first textbox and the description will go in the Description text area. You can use the html tags here.
This gives the brief details on starting with the Jenkins job setup. In the next section, we will cover the General section in details. You can find the link here. Setting Up Jenkins Job - General Section


Comments
Post a Comment